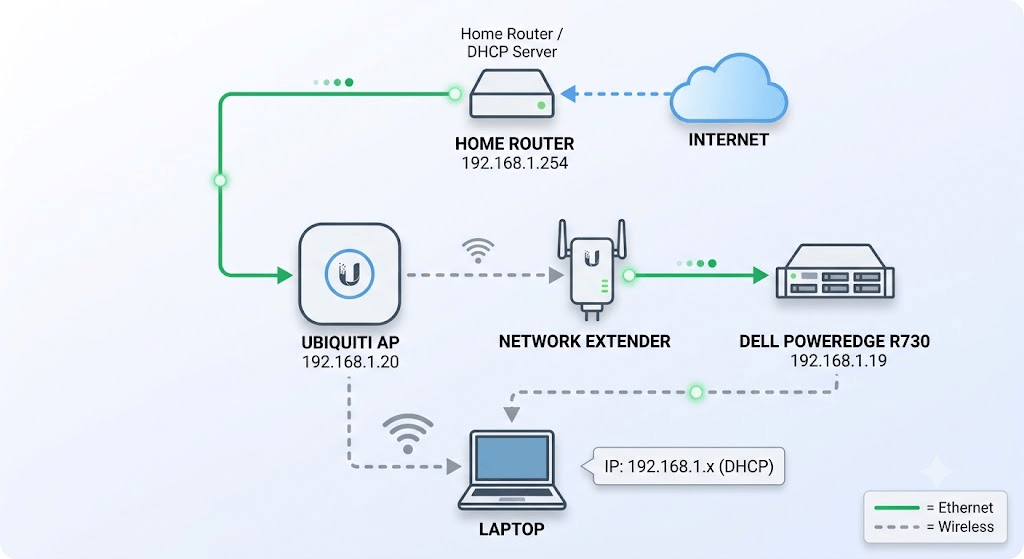
I recently purchased an ASA 5506-X Firewall to protect my home network. Not trusting the AT&T router which came with my home internet service, I found that the choice came between an ASA 5506-X and one of those “Firewalla” devices seen advertised on social media. Since I would like to build my skillset, as well as allow for the most possible flexibility, I opted for the ASA:
The Cisco ASA 5506-X is the latest “Next Generation” Firewall including the “FirePOWER” module. This includes the latest Intrusion n Prevention system, and Advanced Malware Protection. This will introduce how to setup the initial ACL (Access Control List), Network Address Translation (NAT) and launch ASDM.
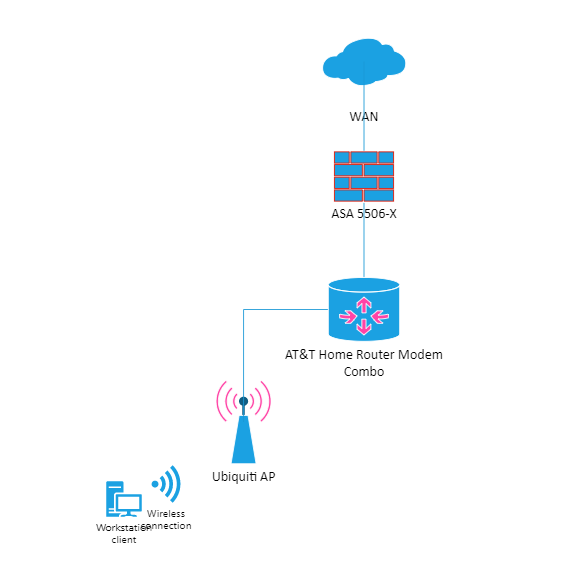
Home internet setup, nothing special.
-
Ensure the software is up-to-date by downloading the most recent ASDM and AVA files from https://software.cisco.com and searching for the firewall in products (after registering, of course).
-
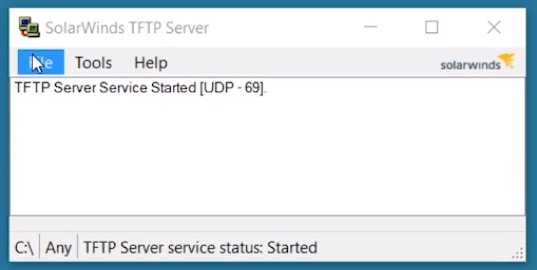
Setup the TFTP Server on the laptop you are configuring the ASA from. I opted for the Solarwinds free variant:
Firewall Configuration:
!Ensures that you are using SSH 2.0 and not 1.99 as well as setting the hostnamessh version 2hostname ASA-5506X! The inside interface where my home internet traffic or trusted residesinterface gigabit1/1! Names the interface "inside" and automatically sets its security level to 100 (highest trust)nameif insideip address 192.168.1.2 255.255.255.0no shutdown! outside, or untrusted traffic.interface gigabit 1/2! Names the interface "outside" and automatically sets its security level to 0 (lowest trust)nameif outsideip address 10.10.99.2 255.255.255.0no shutdown! Configures a default gateway route: sends all traffic (0.0.0.0/0) out the "outside" interface to the next-hop router at 10.10.99.1route outside 0 0 10.10.99.1interface management 1/1no shutdownmanagement-only! --- Network Address Translation (NAT) ---! Creates a reusable network object named "obj_any"object network obj_any ! Defines the object scope to match all possible IP addresses (0.0.0.0 with a 0.0.0.0 mask) subnet 0 0! --- Device Management Access Rights ---! Specifies that inbound administrative SSH connections are allowed to terminate on the "inside" interfacemanagement-access inside! Globally enables the internal HTTP/HTTPS server for ASDM graphical management accesshttp server enable! Allows any IP address (0.0.0.0/0) to connect to the ASDM web service on the inside interfacehttp 0.0.0.0 0.0.0.0 inside! Allows any IP address (0.0.0.0/0) to establish an administrative SSH command-line session on the inside interfacessh 0.0.0.0 0.0.0.0 inside! Automatically terminates administrative SSH sessions if they remain completely idle for 60 minutesssh timeout 60! --- Local Authentication and Users ---! Creates a user account named "cisco" with the password "cisco" and grants maximum administrative rights (privilege 15)username cisco password cisco privilege 15! Sets the global global fallback password to "cisco" when executing the administrative "enable" commandenable password cisco! Enforces user authentication against the firewall's local database for SSH console connectionsaaa authentication ssh console LOCAL! Enforces user authentication against the firewall's local database for ASDM HTTP connectionsaaa authentication http console LOCAL! --- Logging Configuration ---! Instructs the firewall to generate and save web management (ASDM) log events at the "informational" severity levellogging asdm informational
And that’s the start to get you going.