
Continuing from my previous post: https://router-cake.com/2026/05/25/sd-wan-on-my-eve-ng-bare-metal-server/
Github Files: https://github.com/Lenniusce/sd-wan
I am now into the certificates section of my installation, so I am picking right up:
Note: I missed the menu option that I need next, so make sure to zoom out so you can actually see the “Administration” menu:
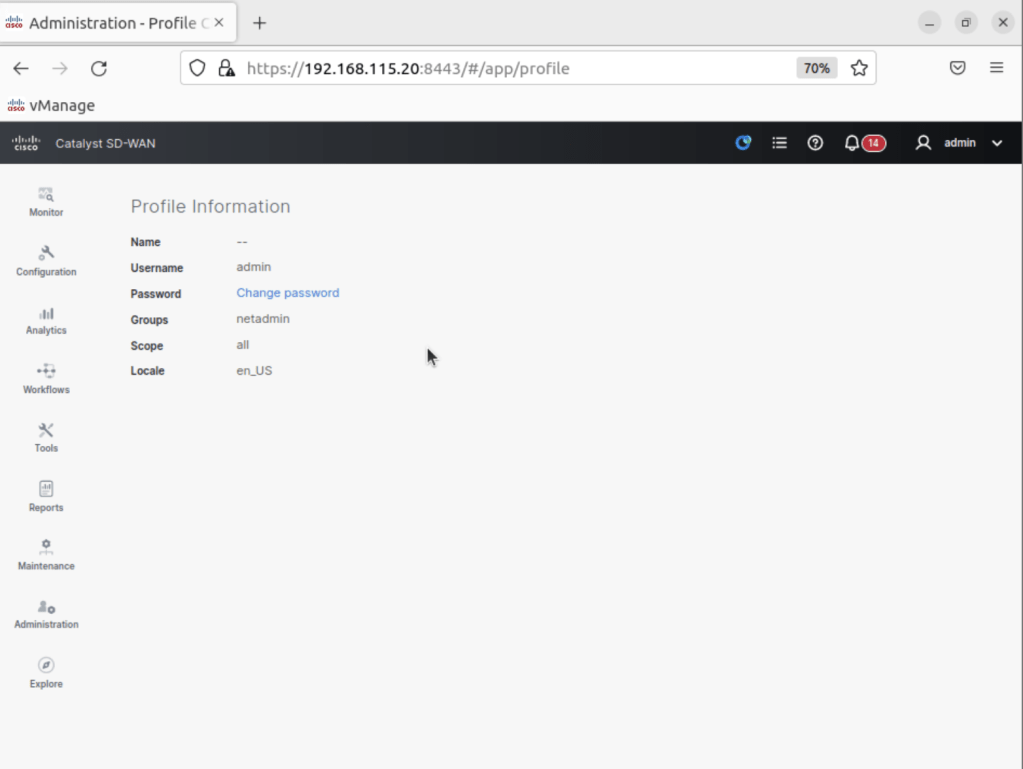
Select “Administration > Settings > Controller”
Add the Validator ip address

Administration > Setting > Controller Certificate Authority
Change Certificate Authority to Manual
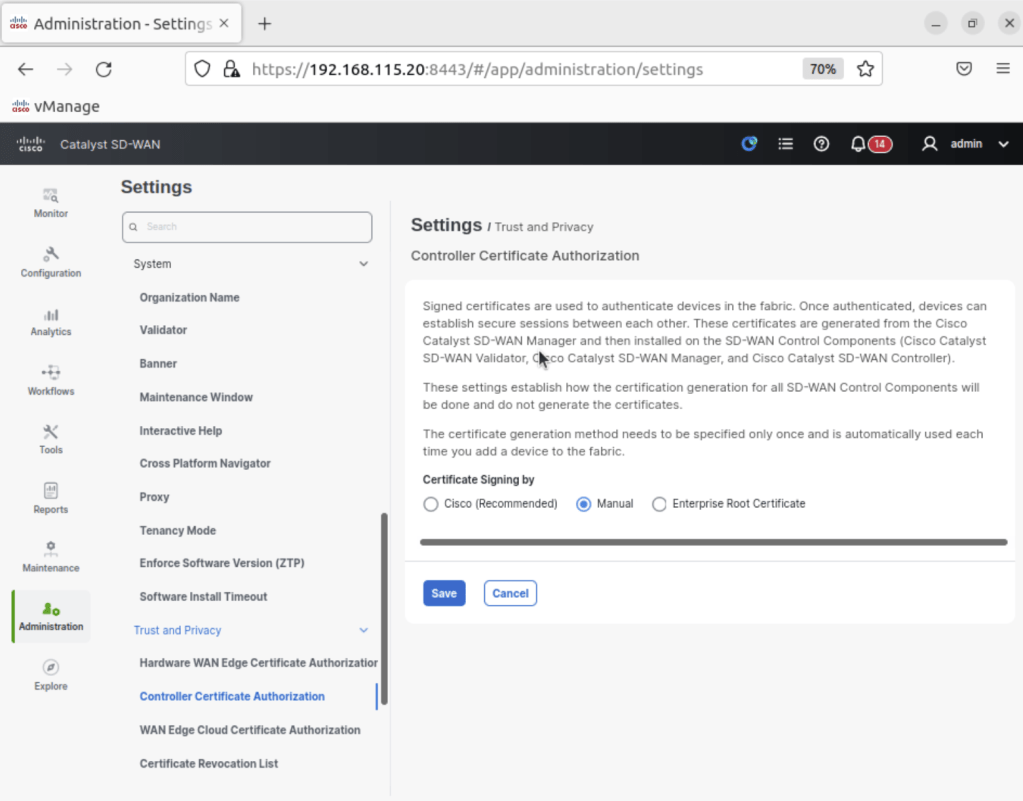
Add vBond (Validator) and vSmart (Controller) by filling out the following:

Validator
Validator Management IP Address: 10.1.1.10
Username: Admin
Password: Cisco
Generate CSR: No

Controller
Controller Management IP Address: 10.1.1.30
Username: Admin
Password: Cisco
Protocol: DTLS
Generate CSR: No
Note: I had trouble adding these at first because I was blocking the netconf services from the tunnel-interface and because I didnt have vbond 10.1.1.10 local on the vbond
Certificates:
Now, its time to get into generating the certificate from vBond. Run these commands to get into vshell and generate the ROOTCA.pem that we will need later:
vshellopenssl genrsa -out ROOTCA.key 2048openssl req -x509 -new -nodes -key ROOTCA.key -sha256 -days 1024 \-subj "/C=US/ST=CA/L=San Diego/O=chickenhawk/CN=sdwan.lab" \-out ROOTCA.pem
Run this on vManage and vSmart to copy over the certificate that we just made.
request root-cert-chain install scp://admin@10.1.1.10:/home/admin/ROOTCA.pem vpn 0
Verify the certificate is installed with this command on each device:
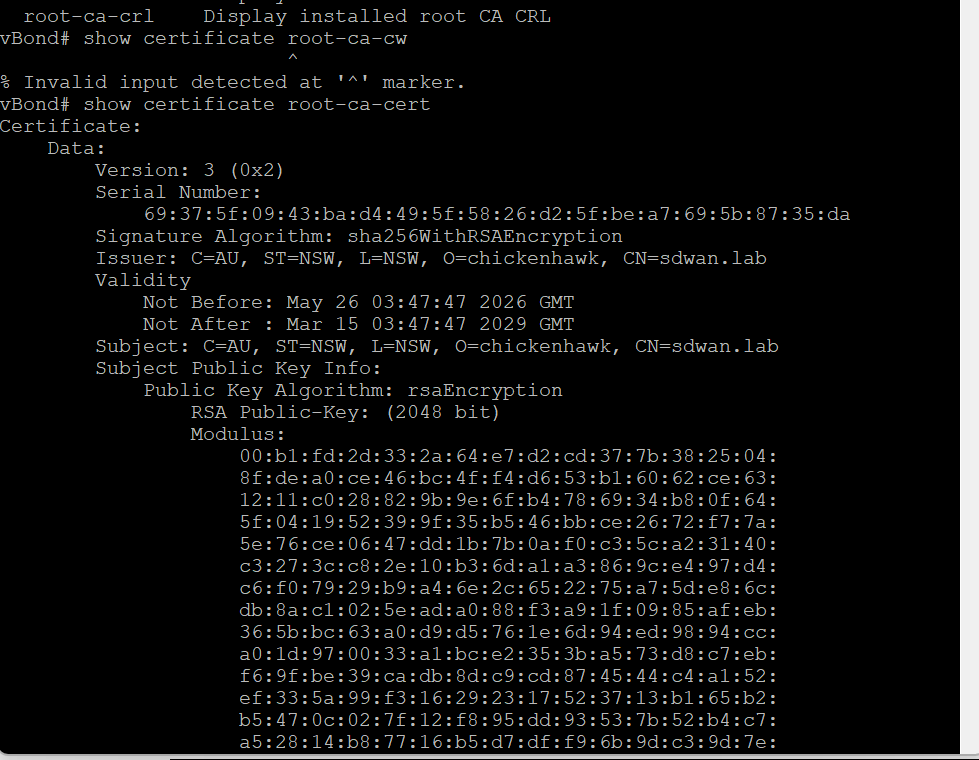
show certificate root-ca-cert
You should see the organization name, country, etc that matches your generation from vBond.
Generate CSR
Now you need to go to Configuration > Certificates > Control Components and Generate CSR for all controllers by clicking the 3 dots next to the Manager (vManage), Validator (vBond), and Controller (vSmart). When you are done, all should be in Status “CSR Generated”.
These will be saved locally to the box as:
– vbond.csr
– vmanage.csr
– vsmart.csr
At this point, each controller must have a certificate signing request (CSR) generated. Now it is time to transfer all CSRs to vBond and sign them with the Root CA Private Key. SSH into vbond from the Linux VM
ssh admin@10.1.1.10
SCP the CSR from each SD-WAN host to the vBond:
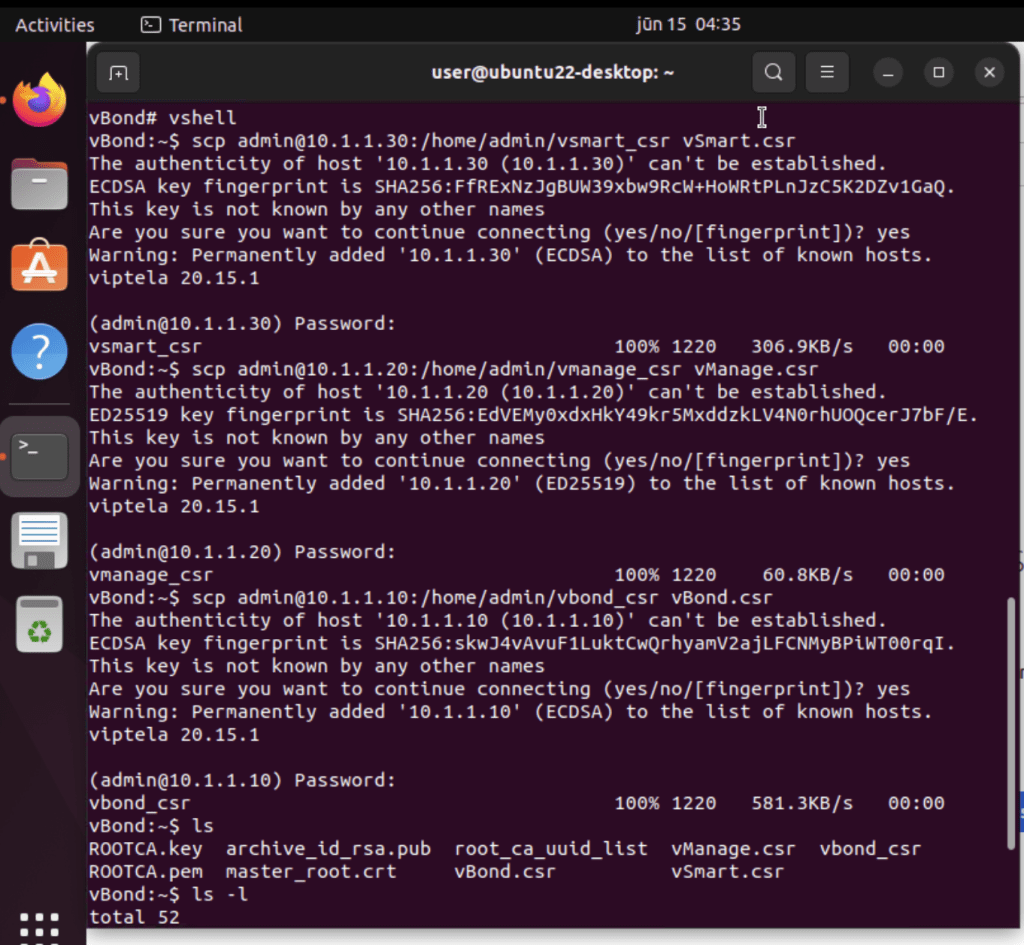
vBond# vshellvBond:~$ scp admin@10.1.1.30:/home/admin/vsmart_csr vSmart.csrvBond:~$ scp admin@10.1.1.20:/home/admin/vmanage_csr vManage.csrvBond:~$ scp admin@10.1.1.10:/home/admin/vbond_csr vBond.csr
Make sure they are present in your dir:

Now cat out each of the certificates, and copy them to notepad keeping track of which is which. This is why I putty into them through the Linux machine is so that I can copy paste easily:
vBond:~$ cat vManage.crtvBond:~$ cat vBond.crtvBond:~$ cat vSmart.crt
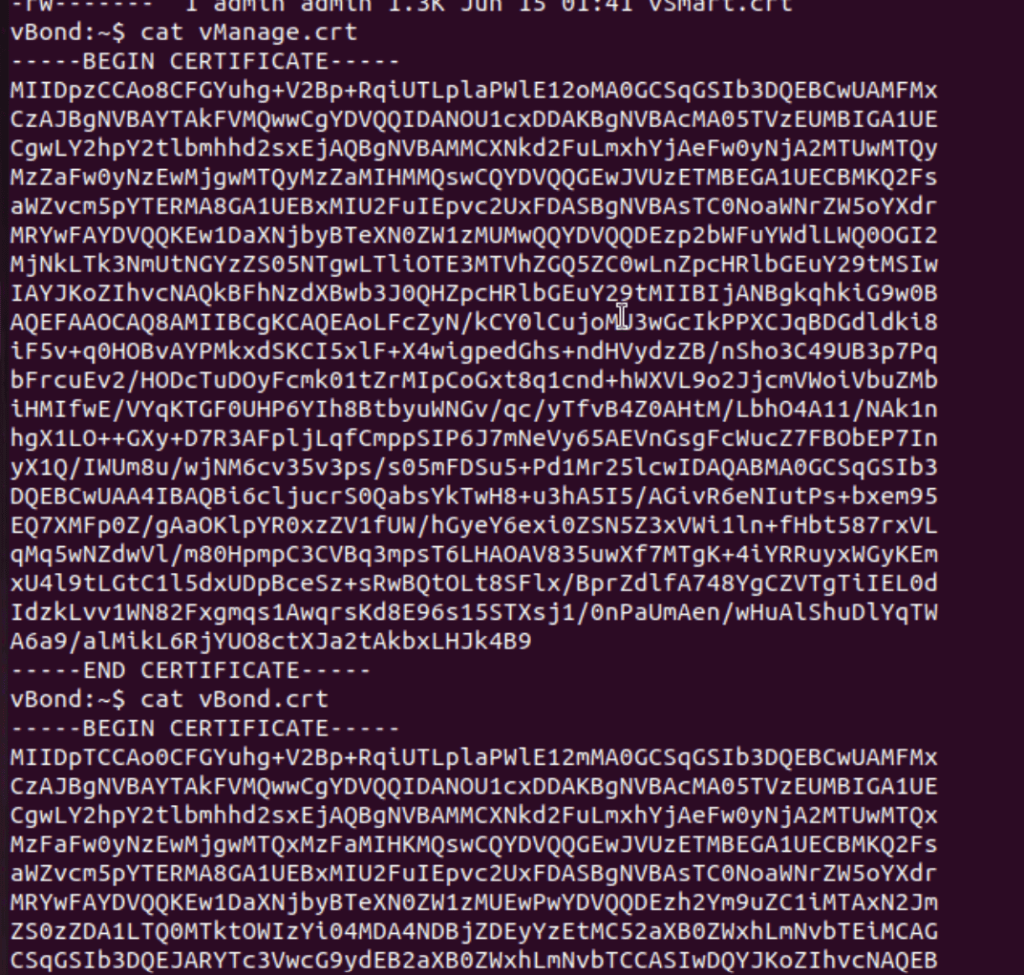
Now sign all of them using openssl:
vBond:~$ openssl x509 -req -in vBond.csr \> -CA ROOTCA.pem -CAkey ROOTCA.key -CAcreateserial \> -out vBond.crt -days 500 -sha256Signature okvBond:~$ openssl x509 -req -in vSmart.csr \> -CA ROOTCA.pem -CAkey ROOTCA.key -CAcreateserial \> -out vSmart.crt -days 500 -sha256Signature ok vBond:~$ openssl x509 -req -in vManage.csr \> -CA ROOTCA.pem -CAkey ROOTCA.key -CAcreateserial \> -out vManage.crt -days 500 -sha256Signature ok
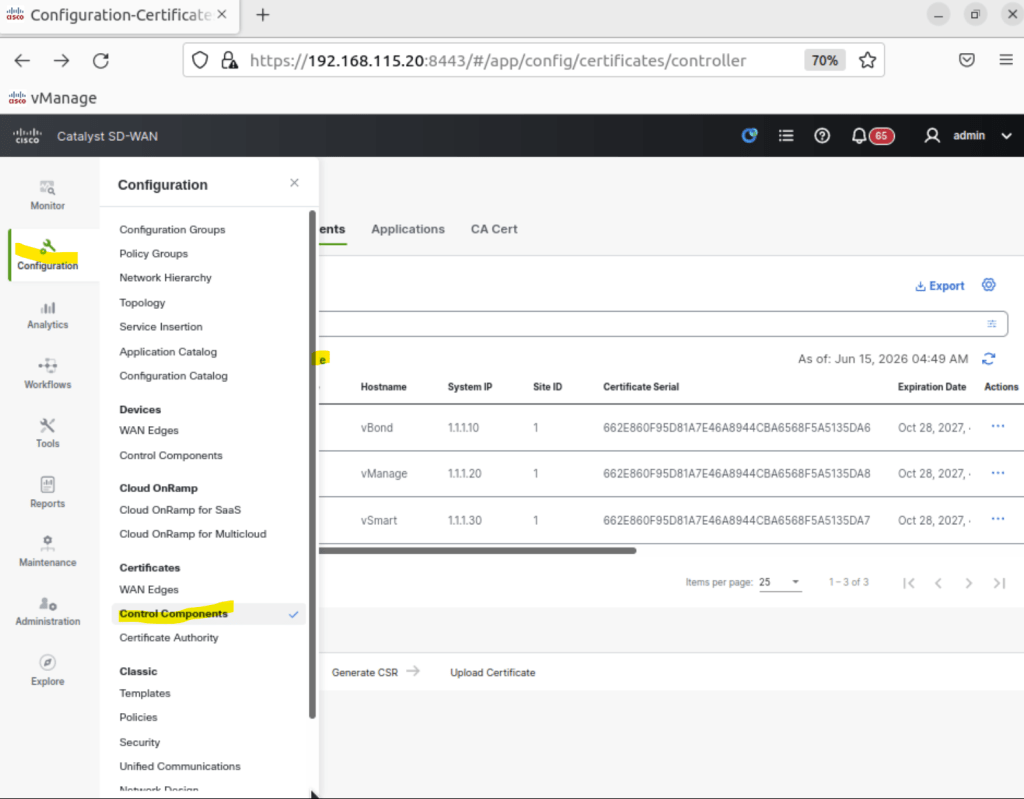
Install them at Configuration > Certificates > Control Components > Install Certificate:
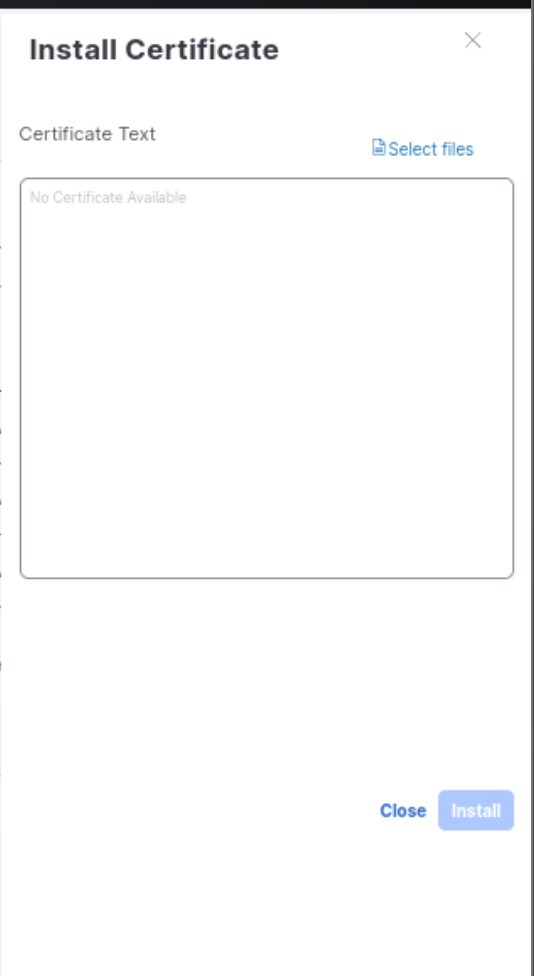
Paste the info from notepad for each control component here:
You will see each one go to success and show up where the red lines are at:

Request for 8000v
Go to cisco downloads (assuming you have a smart account), and navigate to Cisco Plug and Play
Select Manage Devices >
Select Controller profiles
+ Add Profile
Select VBOND
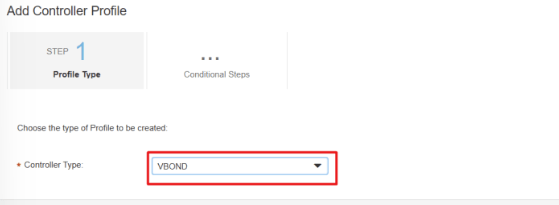
name the Profile Name: Something
Default profile: Yes
Deployment Type; Customer Hosted
Multi tenancy: No
Organization Name: Chickenhawk
IPV4 DTLS:// 10.1.1.10
Note: Make sure that the organization name matches your devices (in my case its Chickenhawk) Also make sure the VBOND address is correct.
Select Next
Select Submit
Select + Add Software Devices, add Software Device
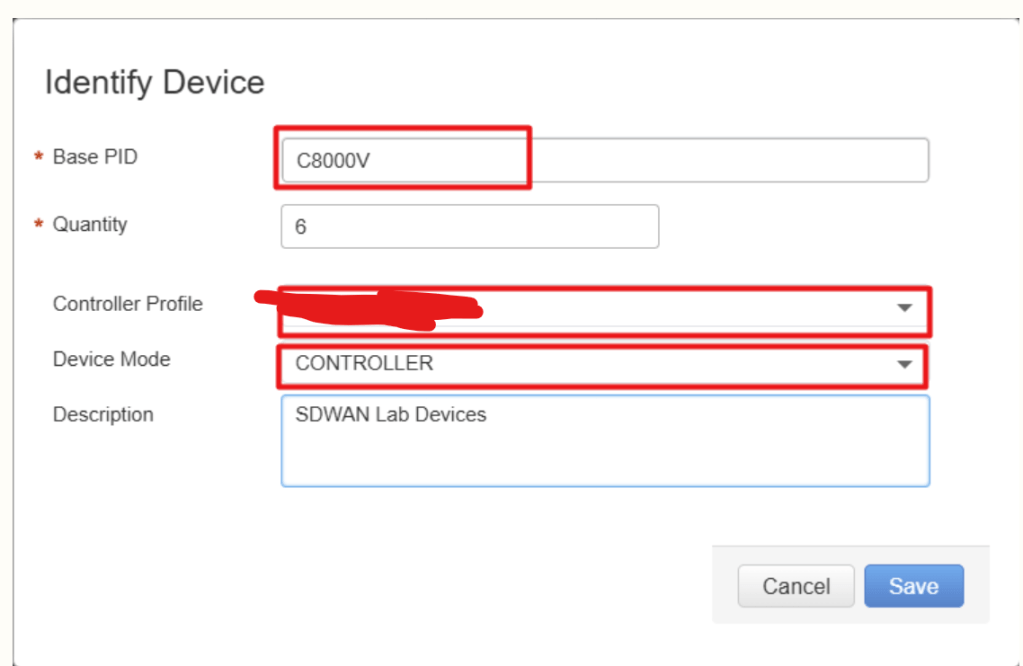
Select Next
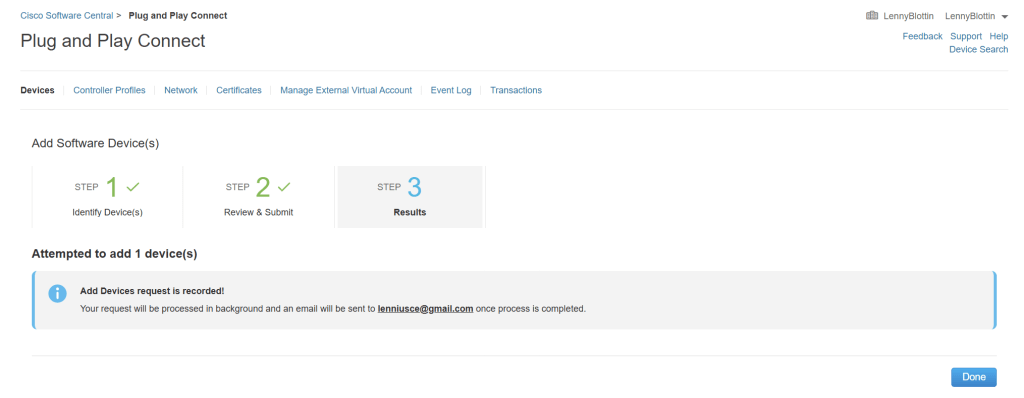
Submit
Done
Go to the controller profile section and select the relevant profile the edge device is linked to and Click Provisioning File URL on the Download section
Select 18.3 or newer
Save the .viptela file for later
Next blog post, we will provision the 8000v devices

 Router-Cake
Leave a comment