
Angry IP scanner is a great little tool I’ve used over the years to get a quick view of what is on a network I have limited knowledge of. Angry IP Scanner is widely used by network administrators, IT professionals, and security experts for tasks like network diagnostics, device discovery, and security audits. Its user-friendly interface makes it accessible to both beginners and experienced users

1. Download & Install
- Go to: https://angryip.org
- Download for your OS (Windows, macOS, or Linux). (The current version as of this writing is 3.9.1)
- I recommend the Installer over the Stand alone version
- Install the application.

2. Select “Run Angry IP Scanner 3.9.1”

3. Decline to send logs to Angry Scanner Anonymously
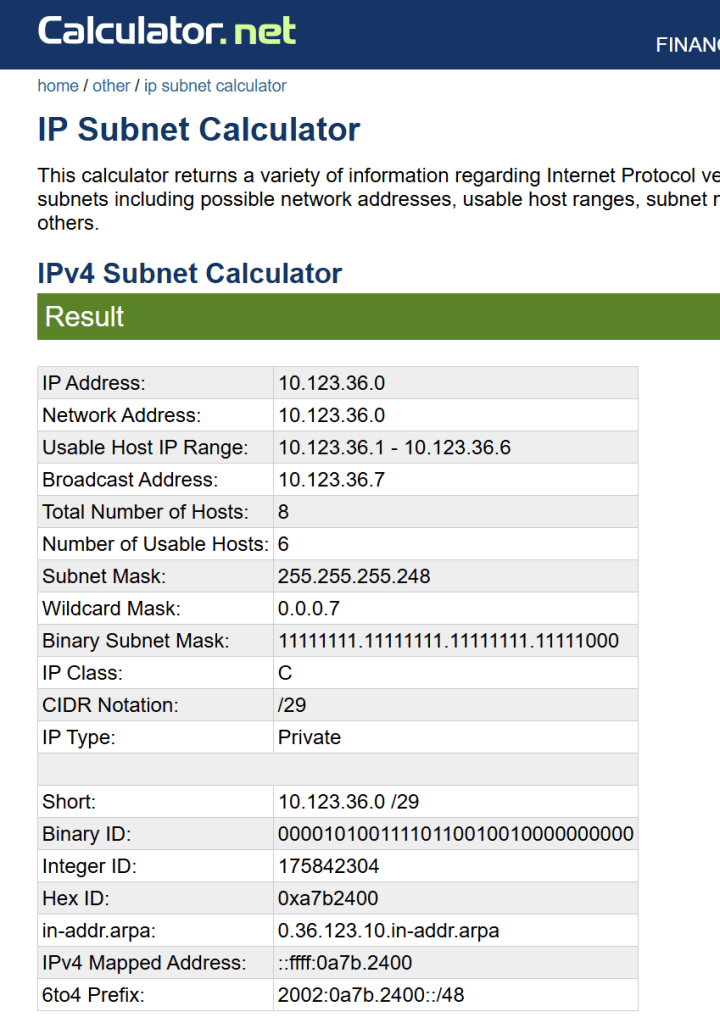
3. Set IP Range
- It should auto-detect your local IP range (e.g.,
10.123.36.0 to 10.123.36.7). - If not, manually set the range you want to scan.
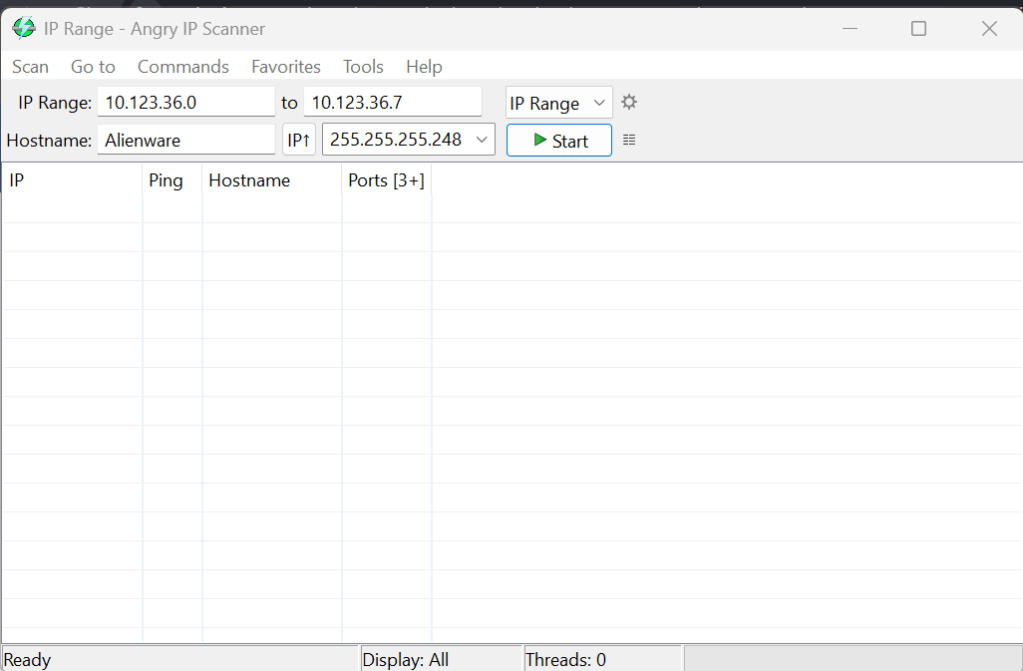
4. Start the Scan
- Click the Start button (blue play icon).
- It will begin scanning all IPs in the specified range.
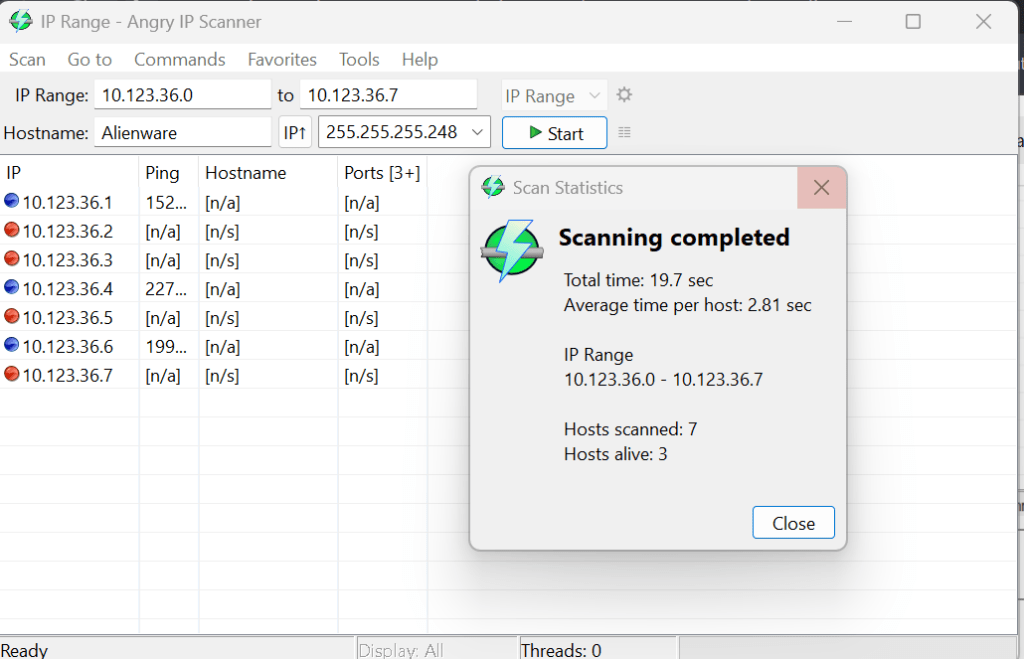
5. View Results
- You’ll see:
- IP address
- Ping time
- Hostname
- MAC address
- Live/active devices will be highlighted in blue or green.
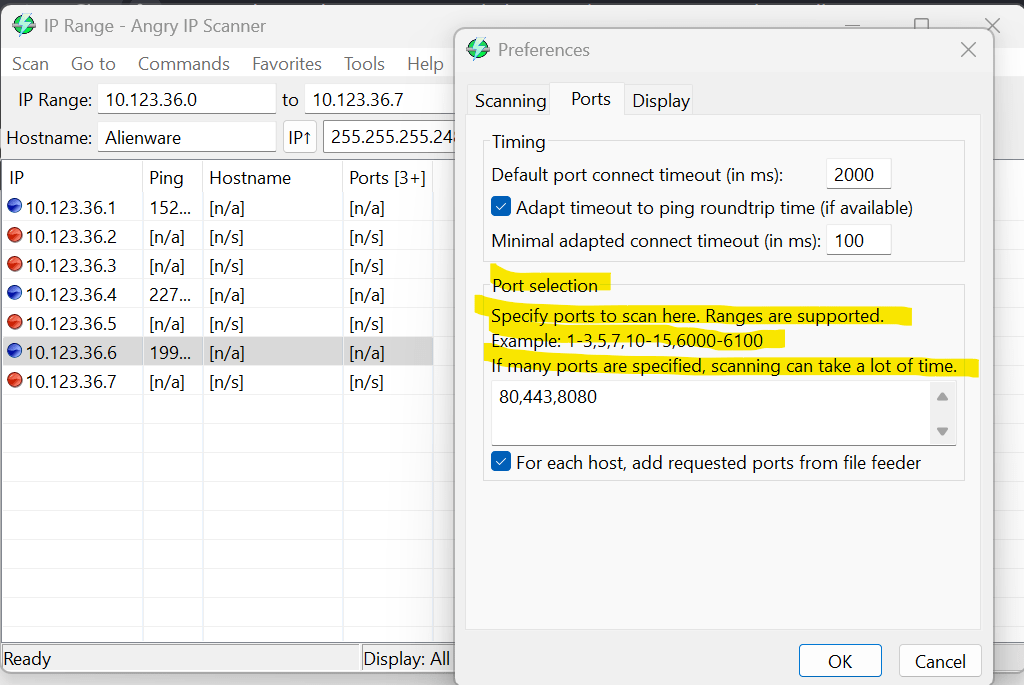
6. Optional Settings
- Go to Tools → Preferences to tweak:
- Ping method
- Scan ports
- Export format (CSV, TXT)
7. Export Results (optional)
- File → Export All → Save as
.csvor.txt.
Being open-source and licensed under the GNU General Public License (GPLv2), Angry IP Scanner encourages community collaboration and ensures that it remains free for users.
Source code: https://github.com/angryip/ipscan/tree/ipscan2
Let me know if you want more on this topic..

 Router-Cake
Leave a comment